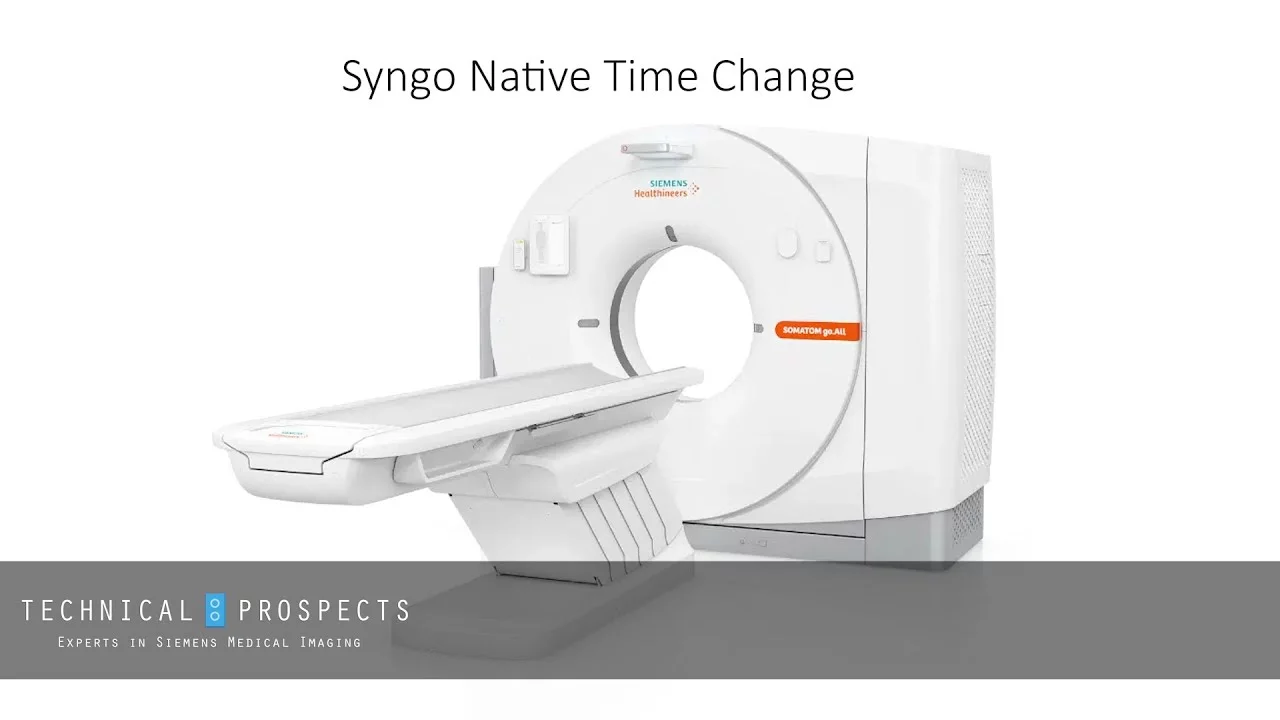
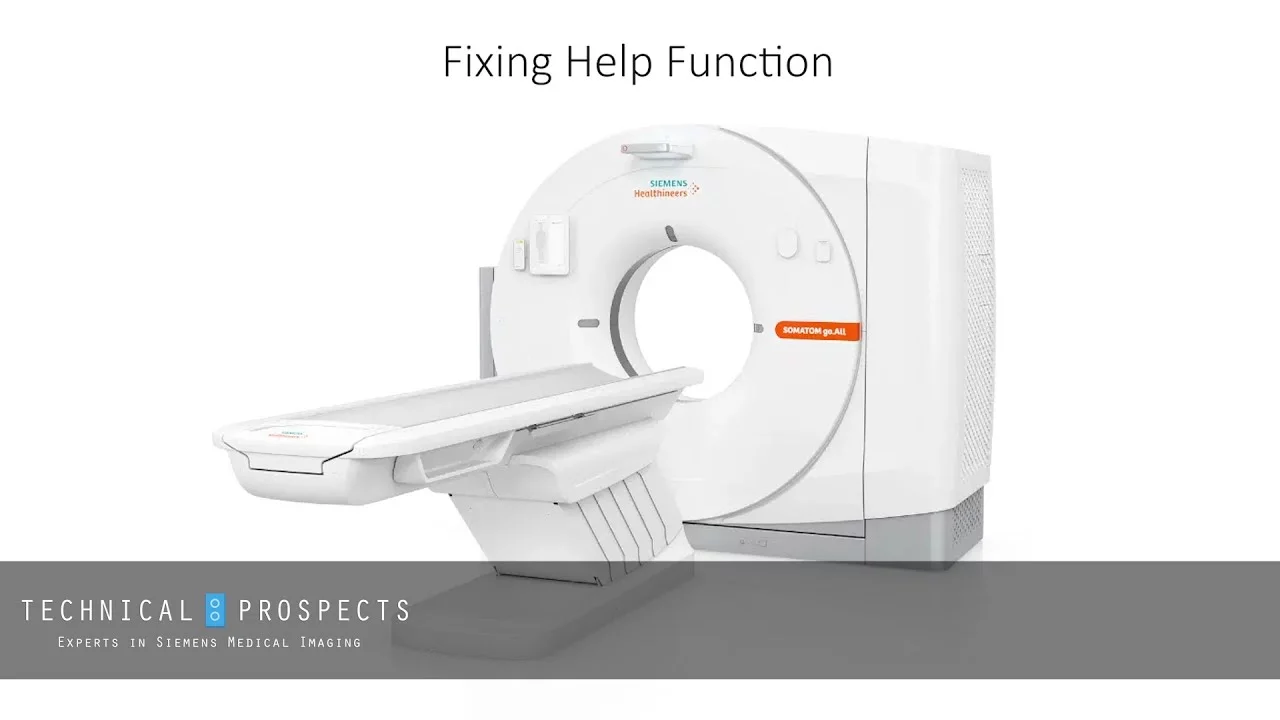
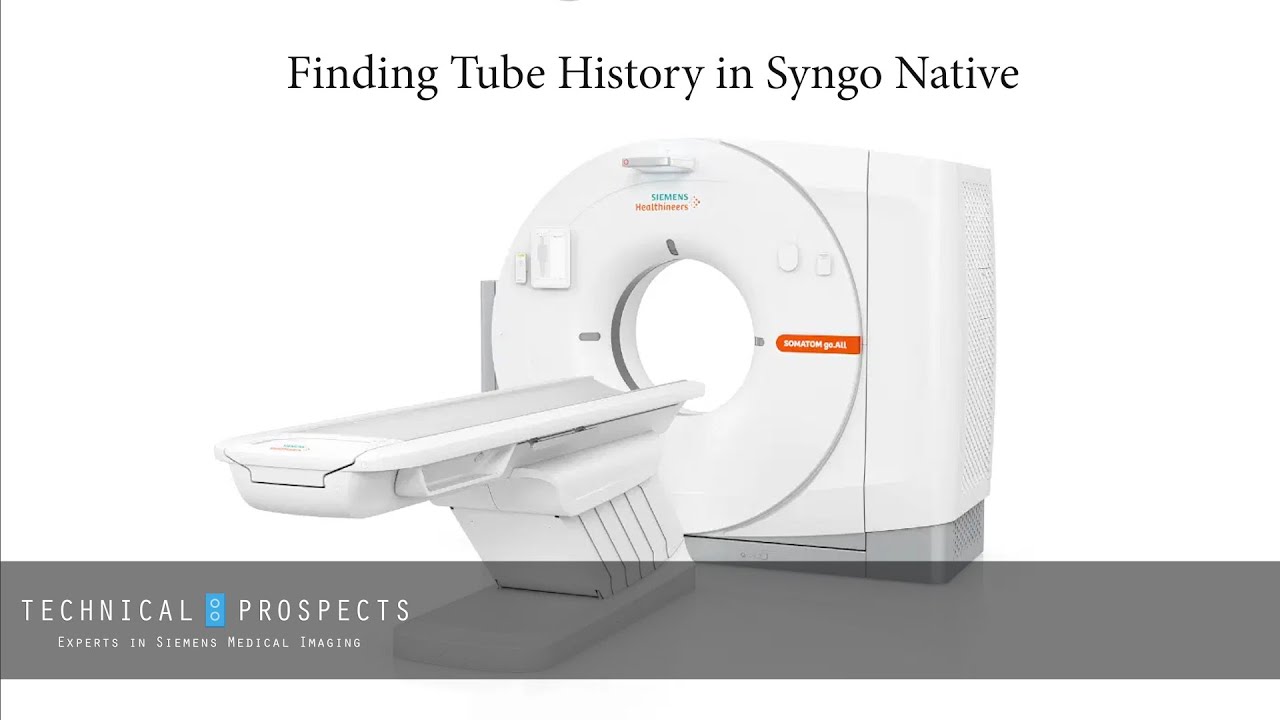
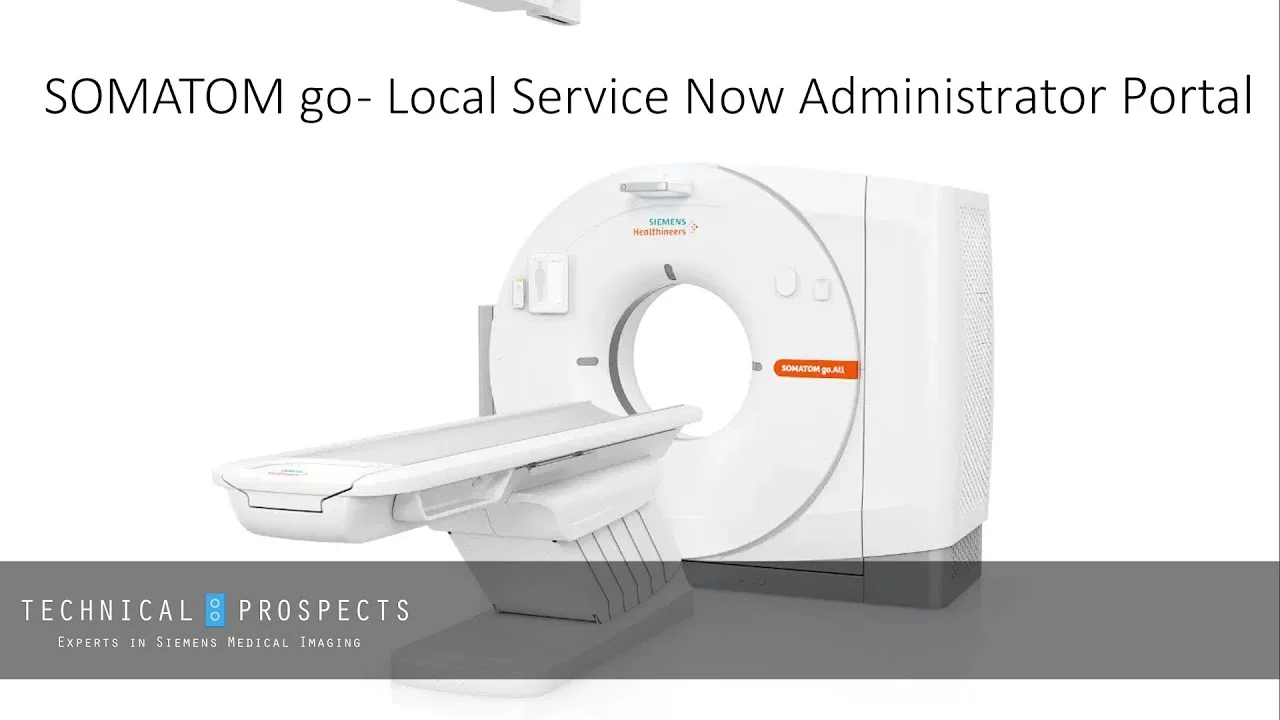
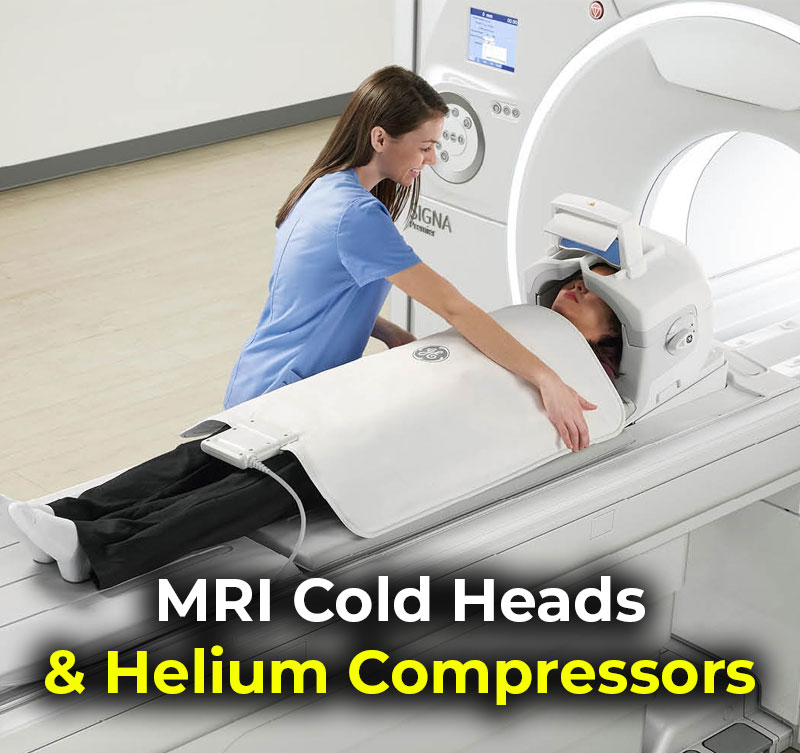
A computerized tomography scan, known as a CT or CAT scan, is one of the most crucial medical imaging techniques in the industry today. It combines a sequence of X-ray images taken at different angles of your body then uses computer processing to produce images of your blood vessels, bones, and soft tissues. It offers much more information than regular X-rays, providing doctors with a wealth of information about the human body.
However, depending on the circumstances, your facility may need to remove and reinstall your CT scanner. Whether you’re purchasing a brand new scanner, repairing your current one, or are replacing CT parts, it’s essential to perform this with utmost care. Here are seven tips to keep in mind:
1. Prepare the Route
Before getting started on the removal and reinstallation process, visualize the route and test it out. Note down the exact course you and your team will take to remove the CT scanner out of your facility. Make sure to consider parking and loading concerns by assigning enough time and preparing your vehicles accordingly.
2. Review Zoning and Municipal Regulations
Although this is a more significant concern when transporting an MRI because of the MRI magnet’s substantial weight, some facilities in big cities or other highly populated areas may need permission to cordon off a street to transport such machines. Cover all your bases by looking into these regulations so you can ensure that the removing and reinstallation process is a smooth one.
3. Remove All Safety Hazards
When preparing your CT scanner for removal, make sure to disconnect all the power cables. It’s also best to lock all the electric boxes to prevent unintended power surges or any electric injury in the meantime.
4. Protect the Walls and Flooring
The next step is to protect your facility’s walls and flooring from any damage that may happen during your CT scanner’s transportation process. Lay down the appropriate materials a few hours before to ensure that everything is covered correctly and well-prepared for the scanner’s removal.
5. Keep Open Communication Lines With Management
If you want to guarantee a smooth removal process, be sure to have a list of everyone’s contact information, including the truck drivers and riggers. Open communication is key to every procedure, so relaying your written plan, timeline, and employees’ names will minimize potential problems and confusion.
6. Prepare the Room for Installation
Sometimes, your new CT scanner will have a different size from its predecessor. It may be a few feet longer, wider, or shorter, which means that its cables and ancillary equipment are likely to be different. Make sure to get the measurements beforehand and check how it would fit in its new home. The area underneath your previous scanner may be cracked or faded from housing the same load for many years, so you may want to inspect this and determine if it’s suitable to support your new scanner.
7. Install and Calibrate the CT Scanner
The last step is to install and calibrate the CT scanner in the room. Engineers will get to work once the CT scanner is installed correctly, making sure it runs properly. The process involves an excellent first scan and filled out FDA form 2579, which the installation technician will complete. The facility must keep this document on file for future reference.
Conclusion
There’s a lot of preparation that comes with removing and reinstalling a machine as large as a CT scanner. You want to make sure that a delicate and expensive piece of equipment is transported safely without damaging the hallways, floors, and doors it passes through. With these tips in mind, you’ll be prepared for a successful removal and reinstallation process.
DirectMed Parts is the leading supplier of medical imaging parts and services. We specialize in MRI and CT parts and coils and carry a wide variety of brands in our inventory. Our experts collaborate with you and your field service team to get your site up as quickly as possible. Get in touch with us today to see how we can help service and part replacement as seamless as possible!

