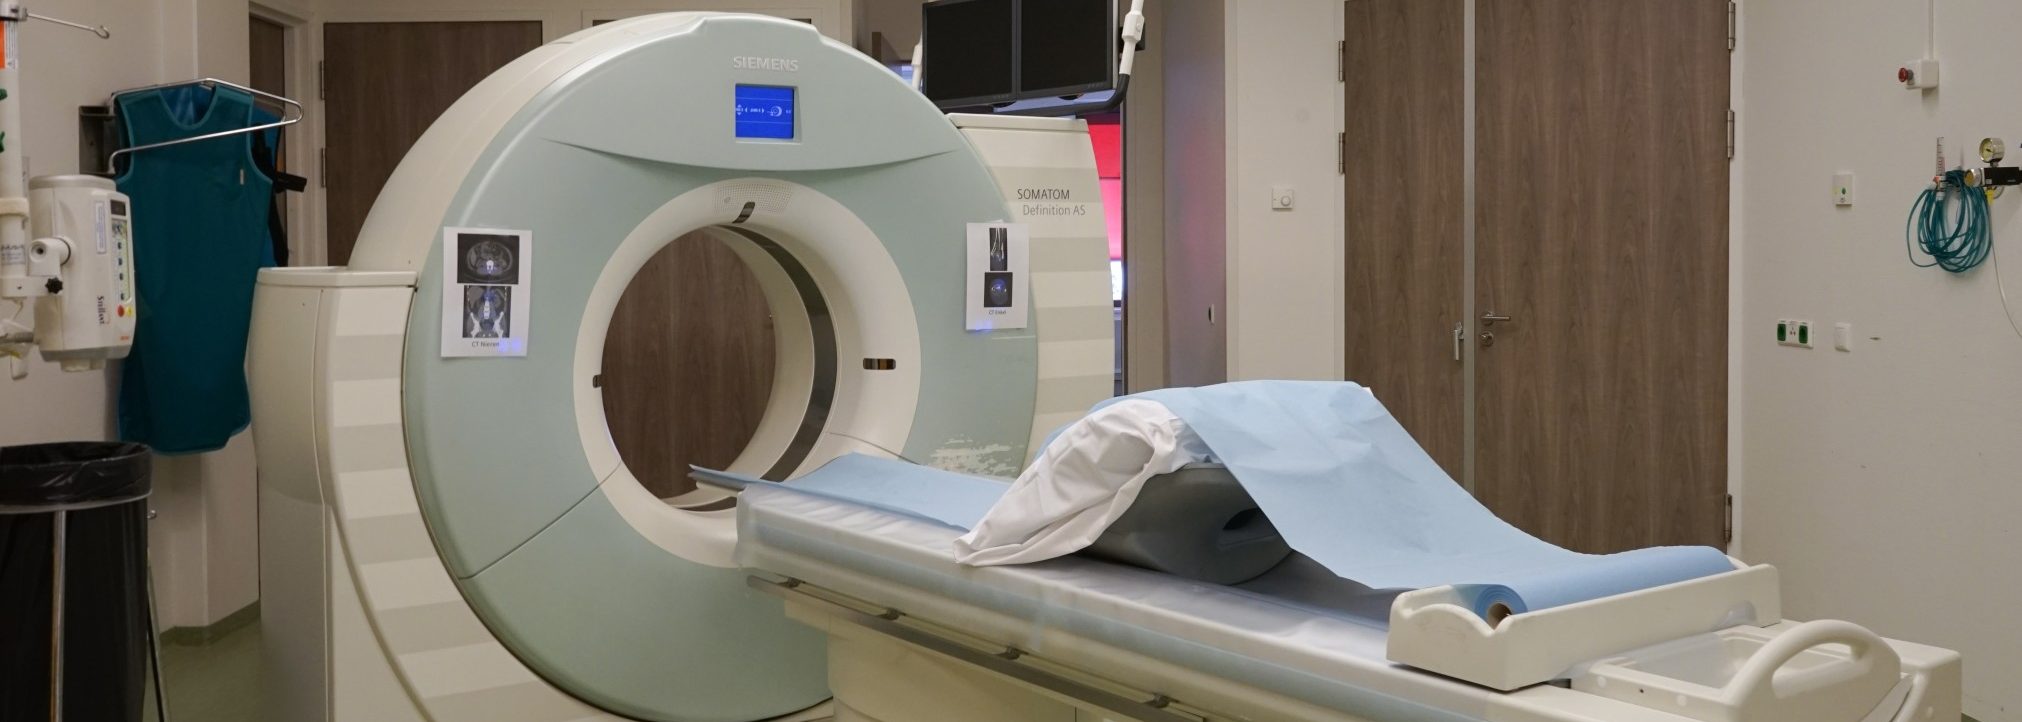
How To Get More Scans From Your CT Scanner
There’s nothing worse than going into work Monday morning to learn that results from one of your CT Scanners are unclear. It’s delivering blurry results that are unreliable and frankly, unusable. You take a quick look at the equipment and it’s imaging, it has some cosmetic scratches, the results are blurry and therefore can’t be professionally used.
However you can’t help but feel that it is not damaged enough to warrant a new machine, in fact, that seems wasteful. Before deciding to dip into your spending budget for the quarter on brand new or used equipment, consider a third option: refurbishing your CT Scanner.
The process of modernizing or refurbishing your CT Scanners can extend their life-span and save you thousands of dollars in the long-term. They will have a comparable appearance and operate similarly as a new CT Scanner. It’s an excellent way to make use of what you already have instead of buying used CT Scanners or purchasing a new one. The effectiveness of the scanners will largely depend on the quality of the machine preceding refurbishment amongst other factors such as the professionals utilizing the equipment, age of model & machine, as well as the condition of the replacement parts.
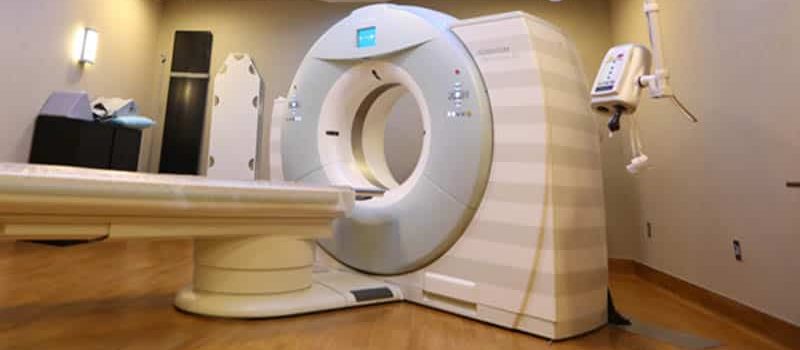
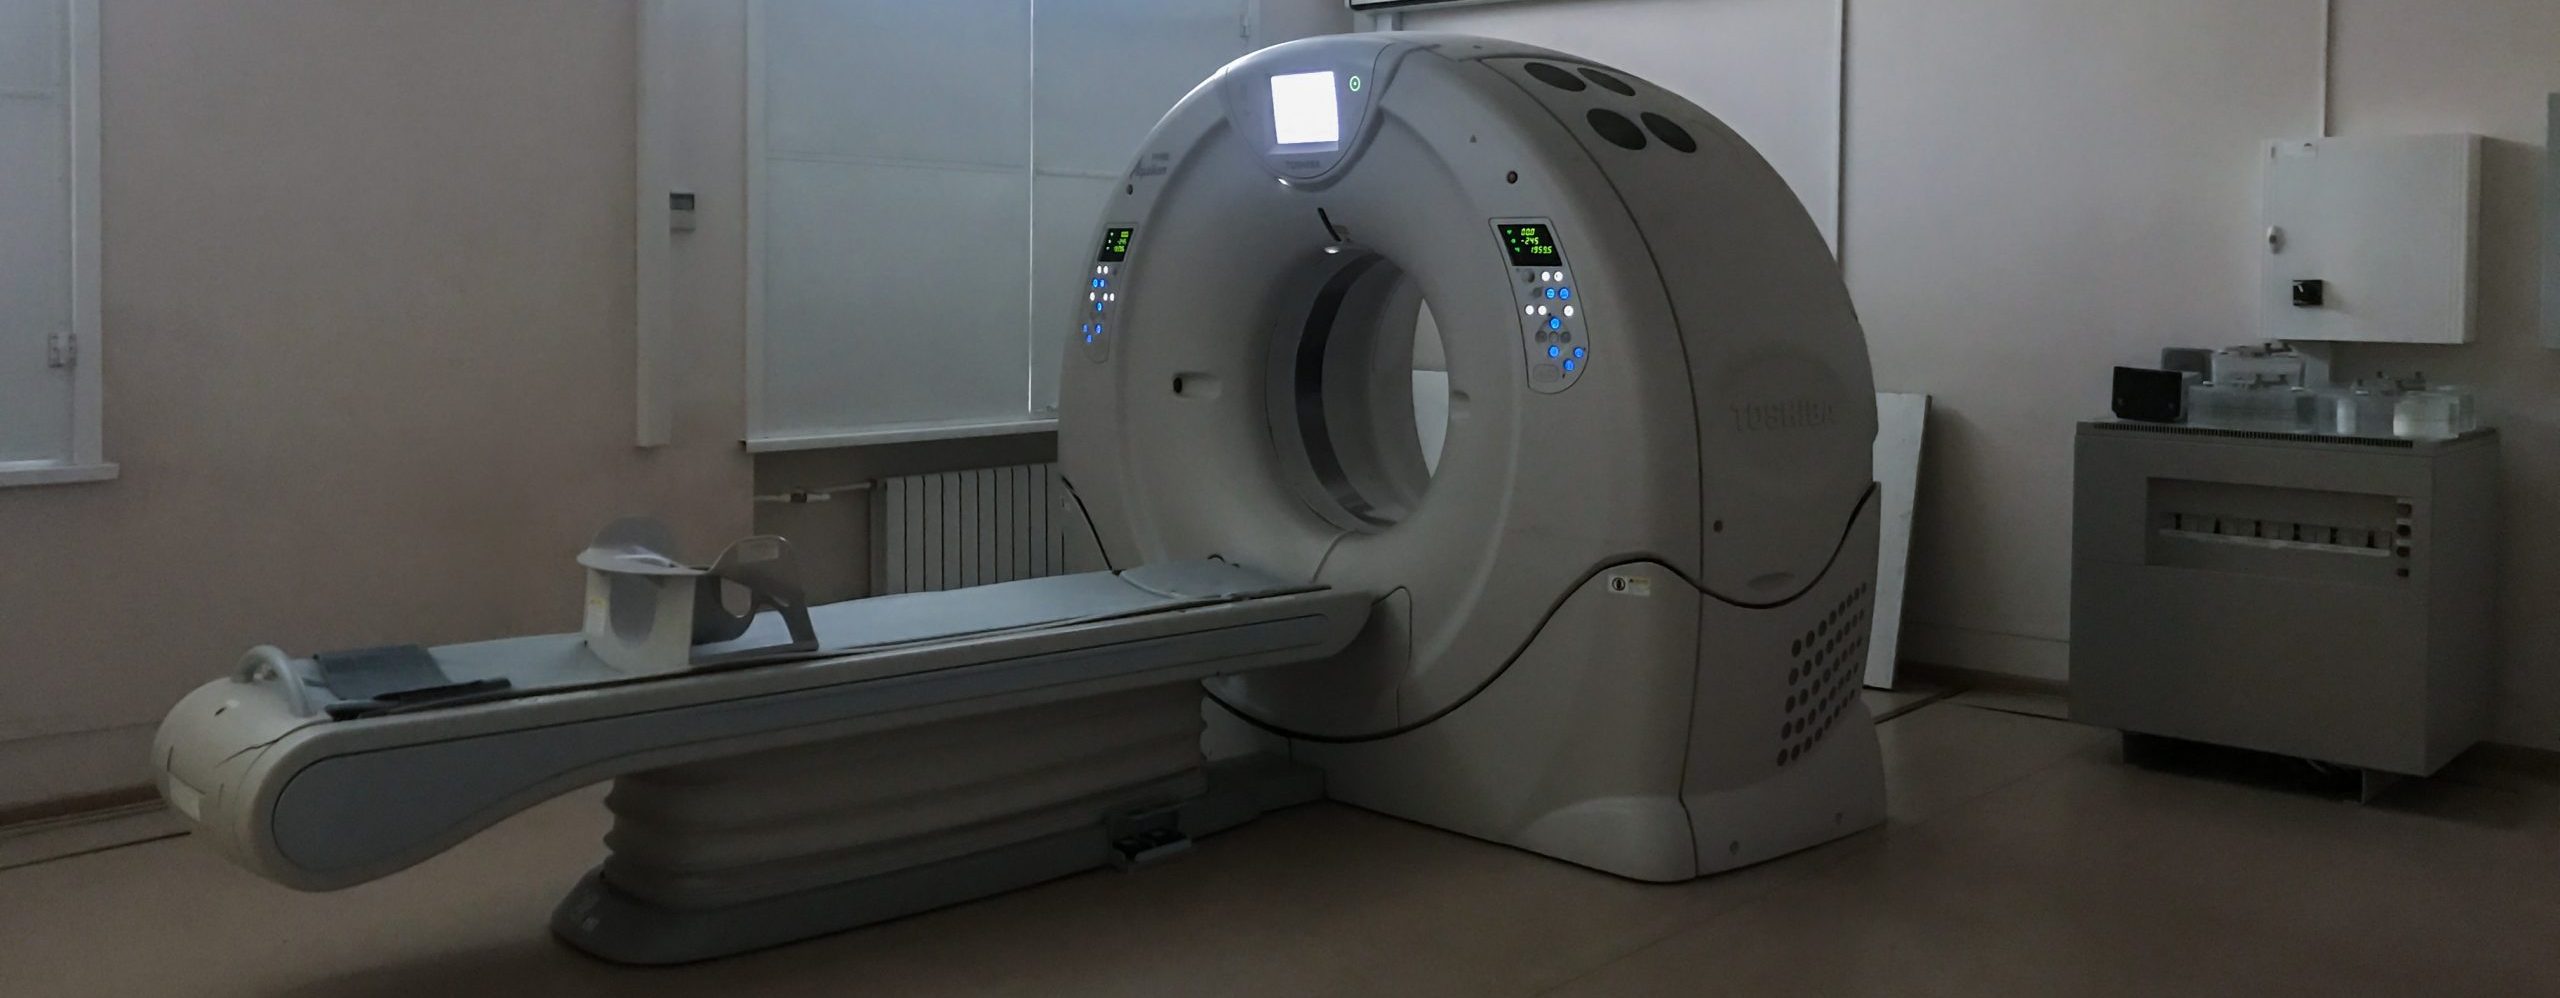
High-end machines manufactured by Philips, GE, Toshiba, Picker, Elscint, and Siemens are most commonly refurbished because of their renowned quality.
Steps To Refurbish your CT Scanner
If these steps turn out to be too much of a time-consuming process for you and your team, we offer CT Scanner refurbishment services for equipment that may seem to be beyond refreshing to the untrained eye at an affordable price point. Our services are exhaustive technically and aesthetically. They include mechanical, electronical, and cosmetic quality assurance processes to ensure your equipment functions and looks properly.
We begin with the thorough mechanical assessment of the machine before we begin the refurbishment process. After that, we assess whether the machine needs new parts for some upgrades and move forward to repair the rest. Supplementary to that process, DirectMed’s engineers also perform in-depth detailed preventative maintenance check. Finally, we do a complete cosmetic upgrade. If you’re looking to get more years out of your diagnostic imaging equipment without spending time or too much money, please contact our representatives 24/7 so we can best assist you. However, if you decide to take on this project with your team, the following is an outline of how to refurbish your CT Scanner.
Table
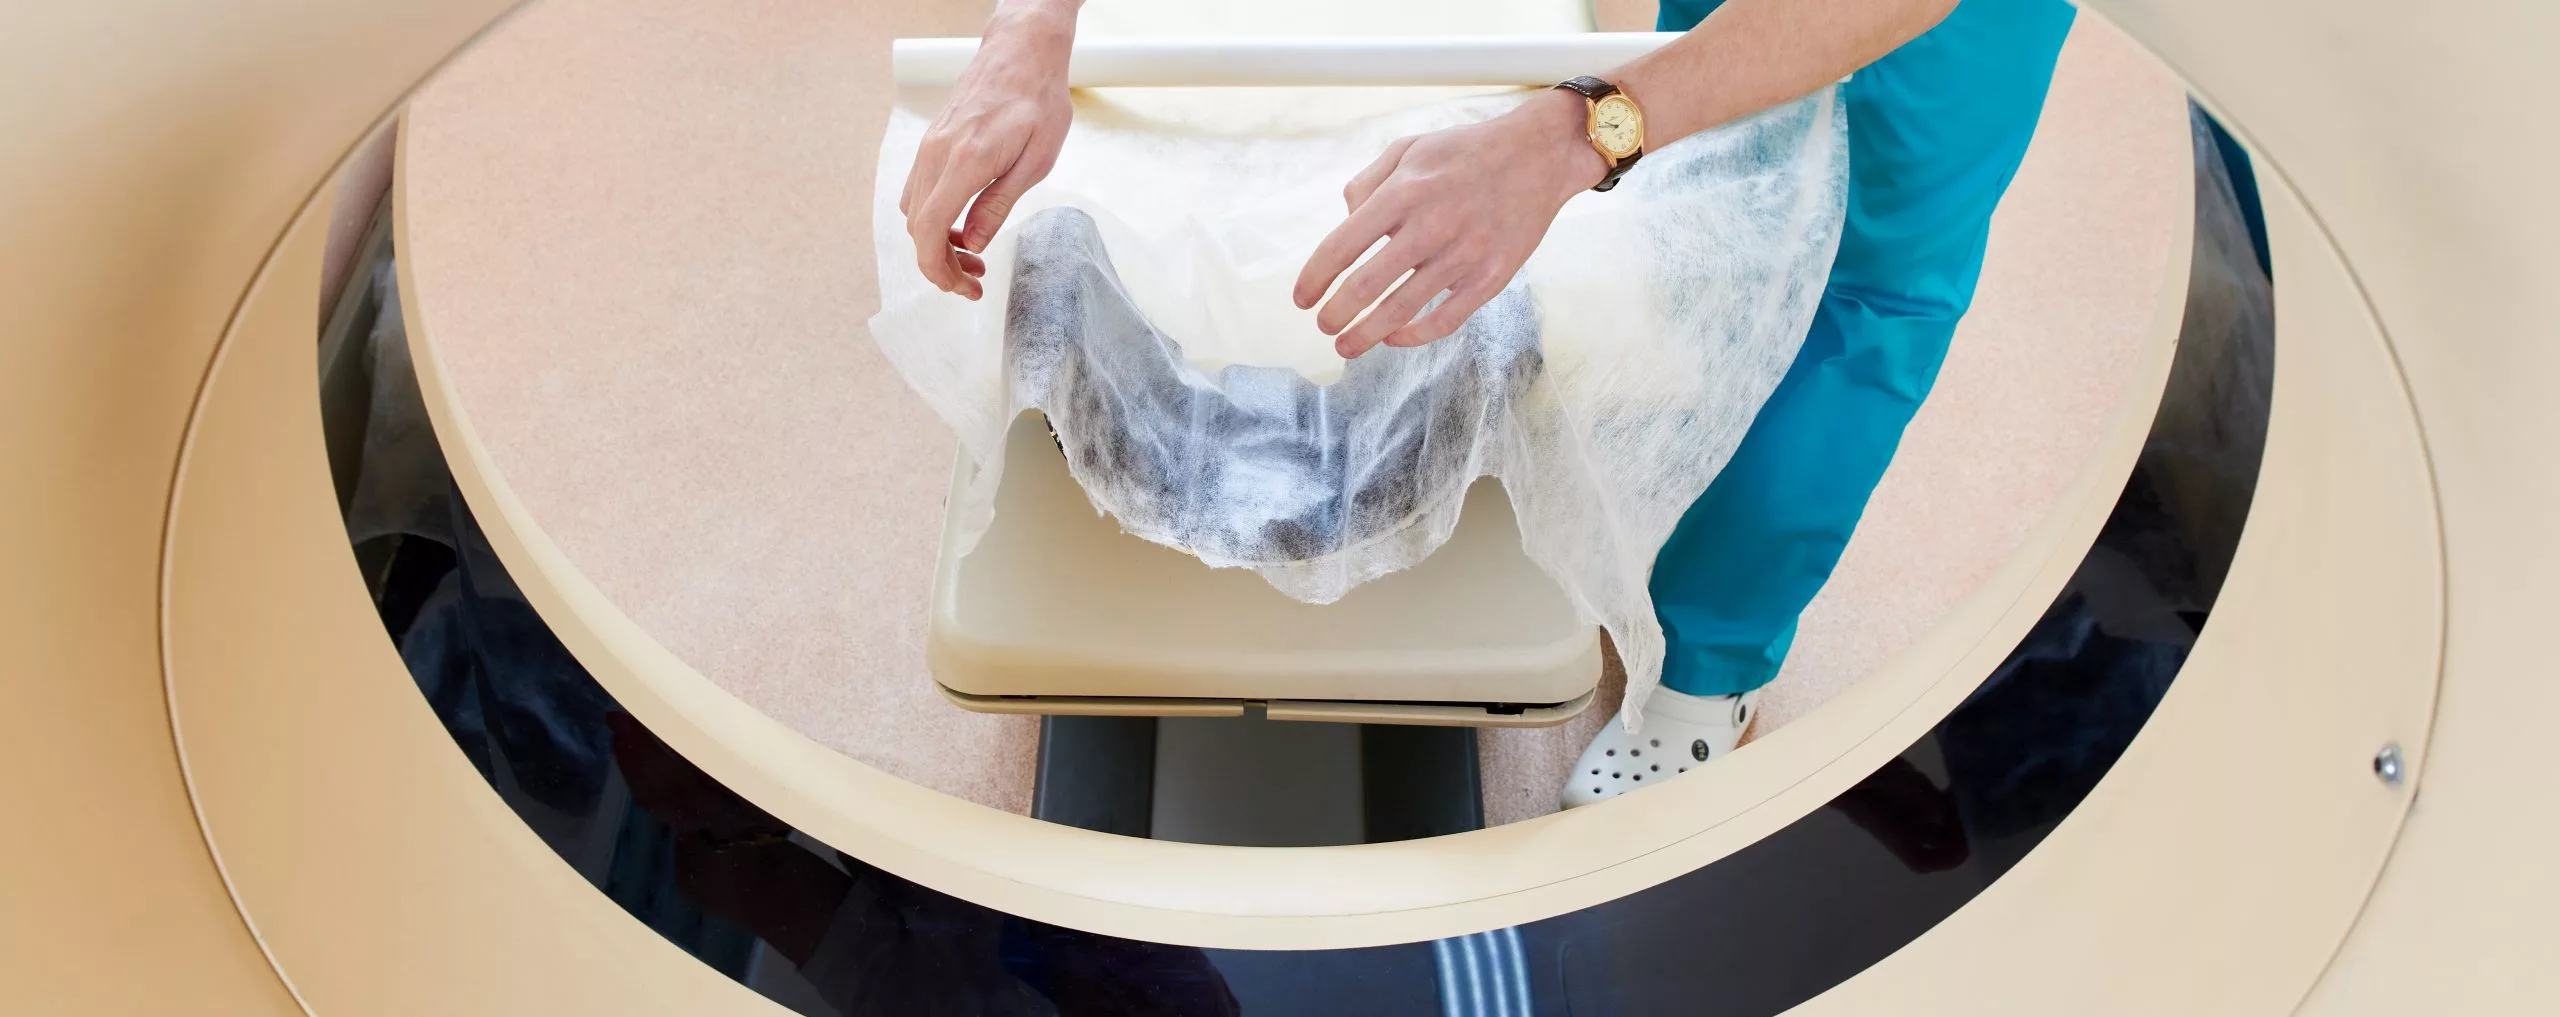
First things first, dismantle the table from the frame carefully to begin working on it. At this point, you want to search for any cosmetic bumps and scratches. Continue to inspect for further damage to any mechanical components, cables, bearings, connectors, etc. Be prepared to replace items that are beyond repair, especially mechanical components and cables. Once you’ve noted everything that needs refurbishing, begin the process of repairing and replacement.
After restoring the vital parts of the equipment, go ahead and reassemble the table, & repaint with paint products that match the OEM’s paint & color scheme. At this point, a secondary inspection should be completed on the finished table to ensure it meets OEM specs.
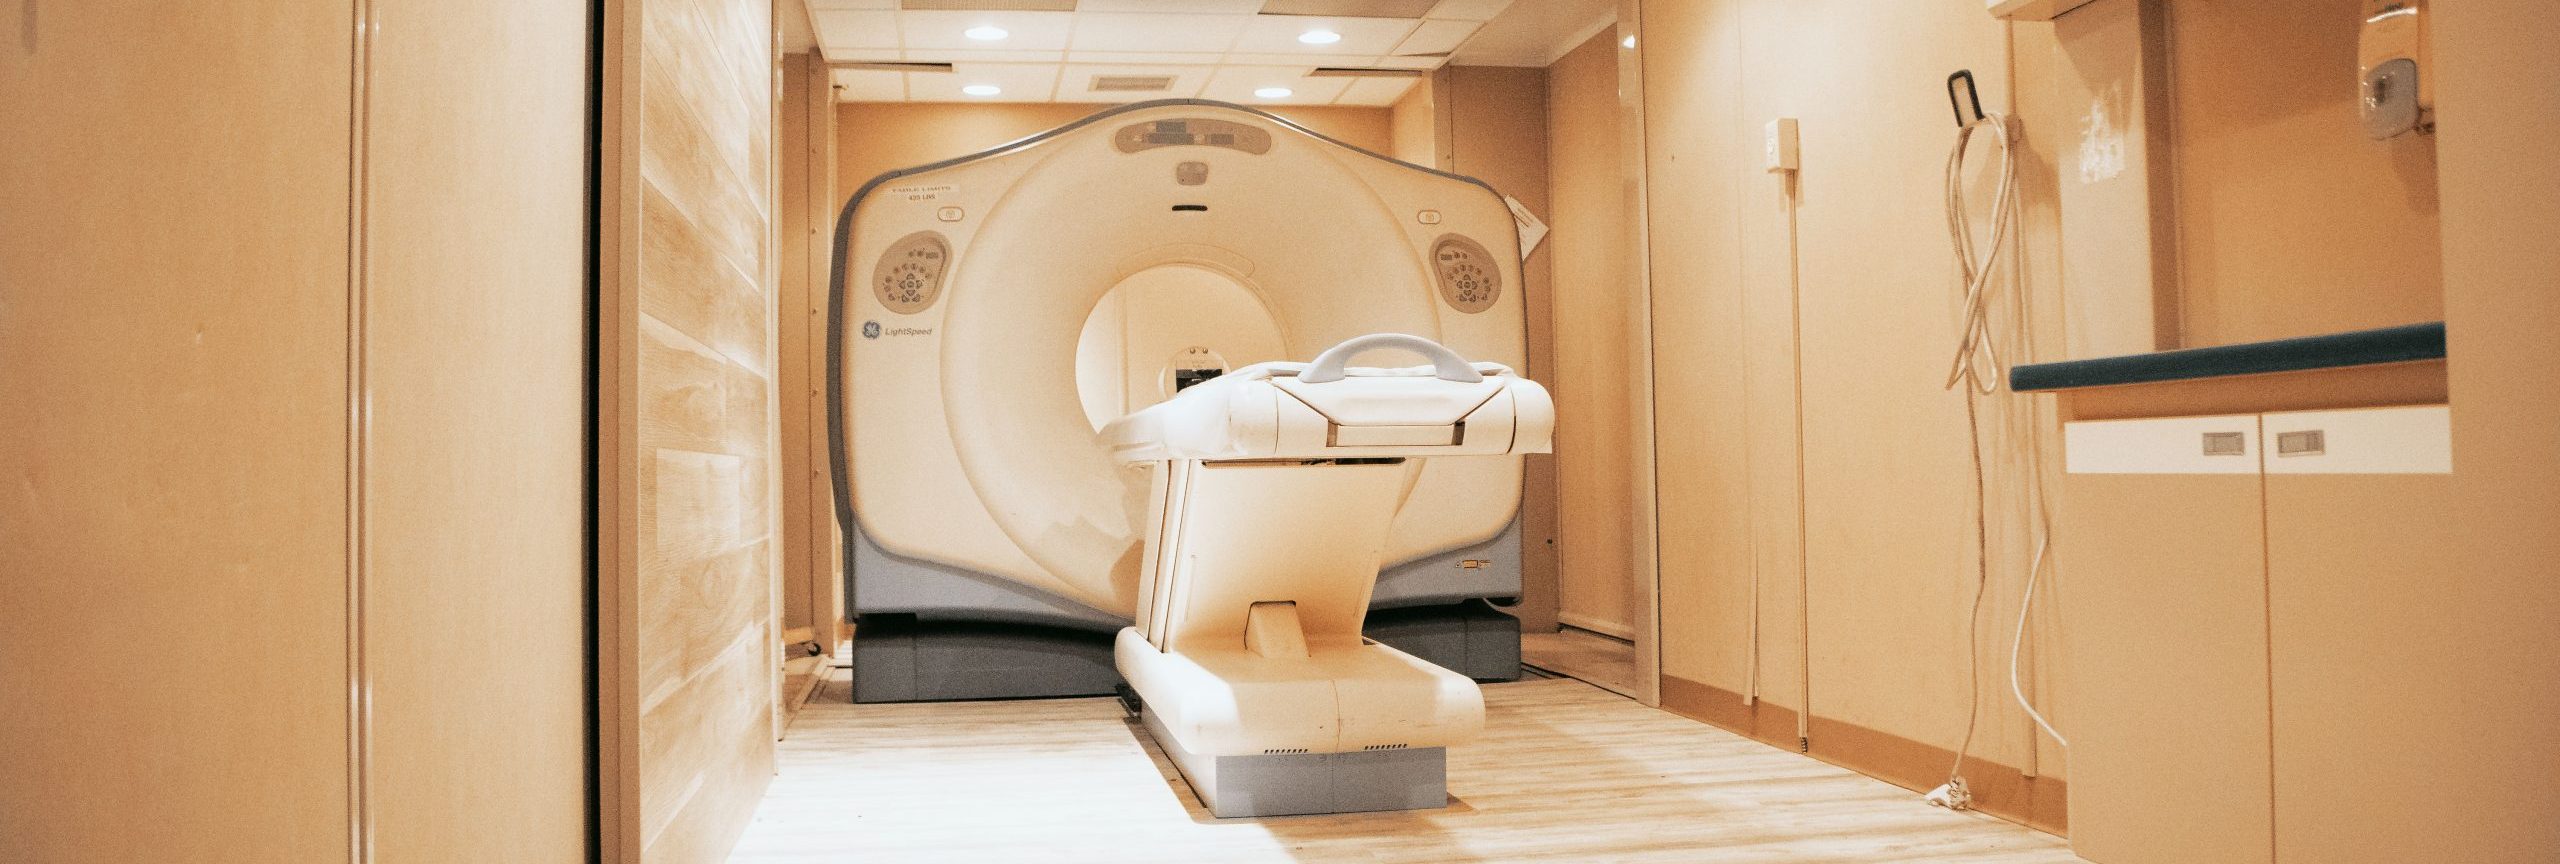
Gantry
Moving on to the gantry, remove the covers and place them in your designated painting area. Begin inspecting all internal components, similar to what we did with the table, make sure all the cables, bearings, connectors are not damaged. If so, repair or replace them promptly. Meticulously clean all interior components and attach painted covers. Perform the necessary secondary inspection as stated above.
Depending on the CT scanner that you have, there may be additional steps to inspecting the gantry. Having the machine’s instructional menu on hand can help you identify components you may have missed.
Console/Workstation
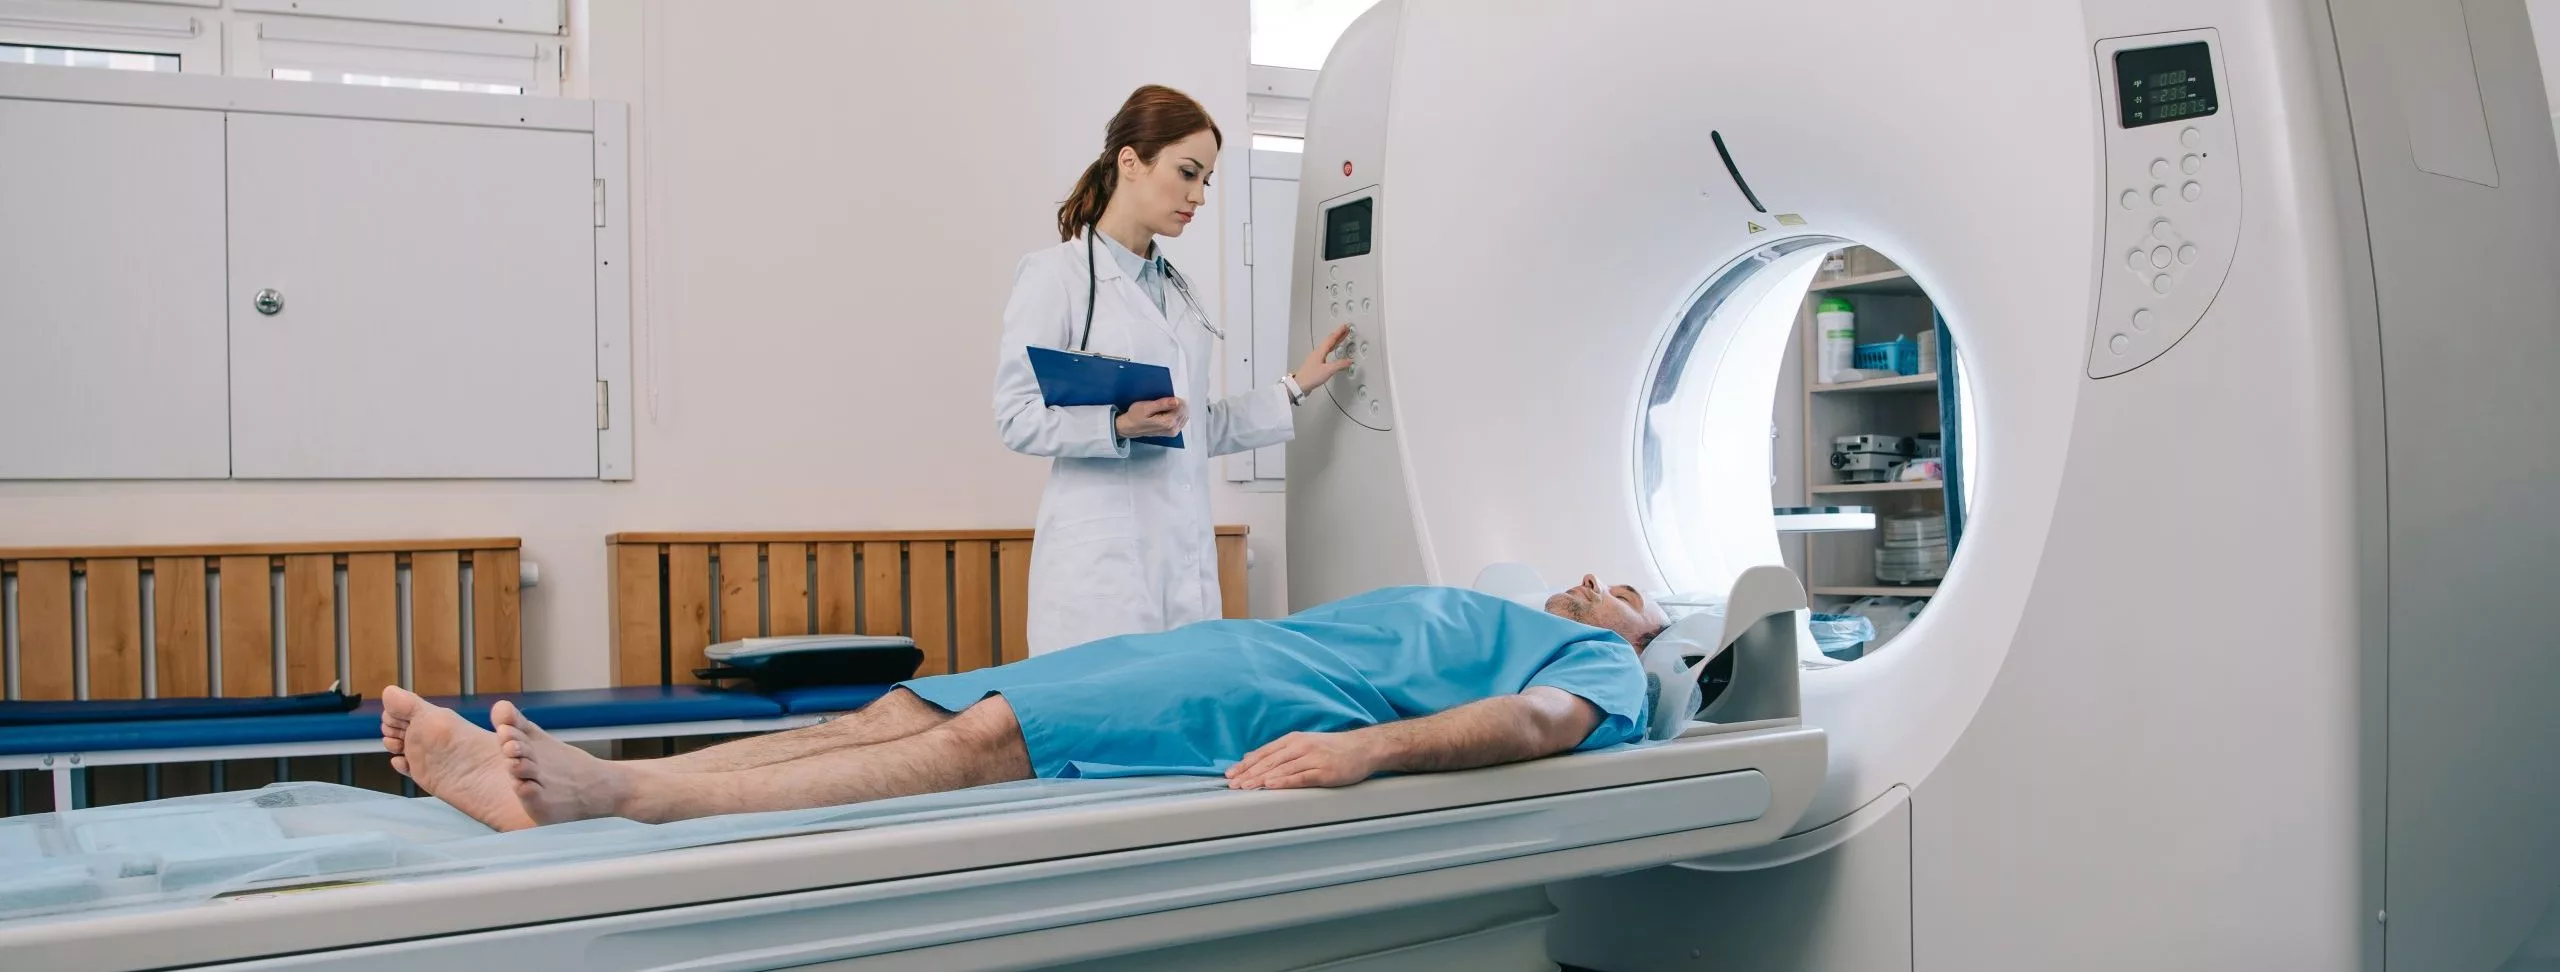
Begin by analyzing ports and cables for a secure connection and loose wires. Repair or replace damaged cords accordingly. At the same time, check all switches, boards, and buttons to make sure they’re working properly. Clean all computer components and run diagnostics on every computer system to check for optimal functionality.
If you’re selling the machine after refurbishing, make sure you are HIPPA Compliant by deleting all existing patient data.
Glassware
When renovating the glassware components, begin by cleaning high voltage ports while paying additional attention to the x-ray tube. Go on to change the oil in the tube and regrease the ports. After you have done the above, test the equipment for correct power, image noise, and arcing. These components will be substantially more fragile than other parts of the CT Scanner so it will help if you have multiple experienced individuals assisting you with this.
System Cabinets
Start by removing the covers and place aside for painting with OEM approved paint. Just as you’ve done with the rest of the equipment, inspect the staging bay for damage. Pay extra attention to cables, and electrical parts. If anything needs grounding – make sure that it is properly done. Having someone from your team who has expertise in this machinery and electrical engineering will aid you in identifying problem areas that you may miss.
After you have completed the internal refurbishment, re-attach the covers to the staging bay. Combine the system cabinet with the rest of the CT Scanner to begin calibrating the equipment to once again ensure that it functions at the OEM-specified standard for x-ray dosage per FDA mandated regulations and image quality.
Although it is possible to completely refurbish your CT Scanner with your team, it is a time-intensive and detailed process that will take a couple of days to a week to finish what you may not have. Having a dedicated team to aid with the refurbishment process will help cut the risk of mistakes down as well as reduce the amount of time it will take. However, it’s really important to take your time and make sure that you’re doing everything correctly.
Our services offer our clients peace of mind for their refurbished CT Scanners and save them time and money. DirectMed is extremely thorough and follows OEM-approved specifications to guarantee smooth service from when we pick up your machine when we drop it off. Our customer care team is available 24/7 to answer any questions you have.