Besides hiring a qualified staff of healthcare professionals, you need to ensure that your healthcare facility has the necessary equipment to offer your services. The more complex your equipment is, the more effort you have to invest in making sure that its purchase, storage, and operation runs smoothly on your premises.
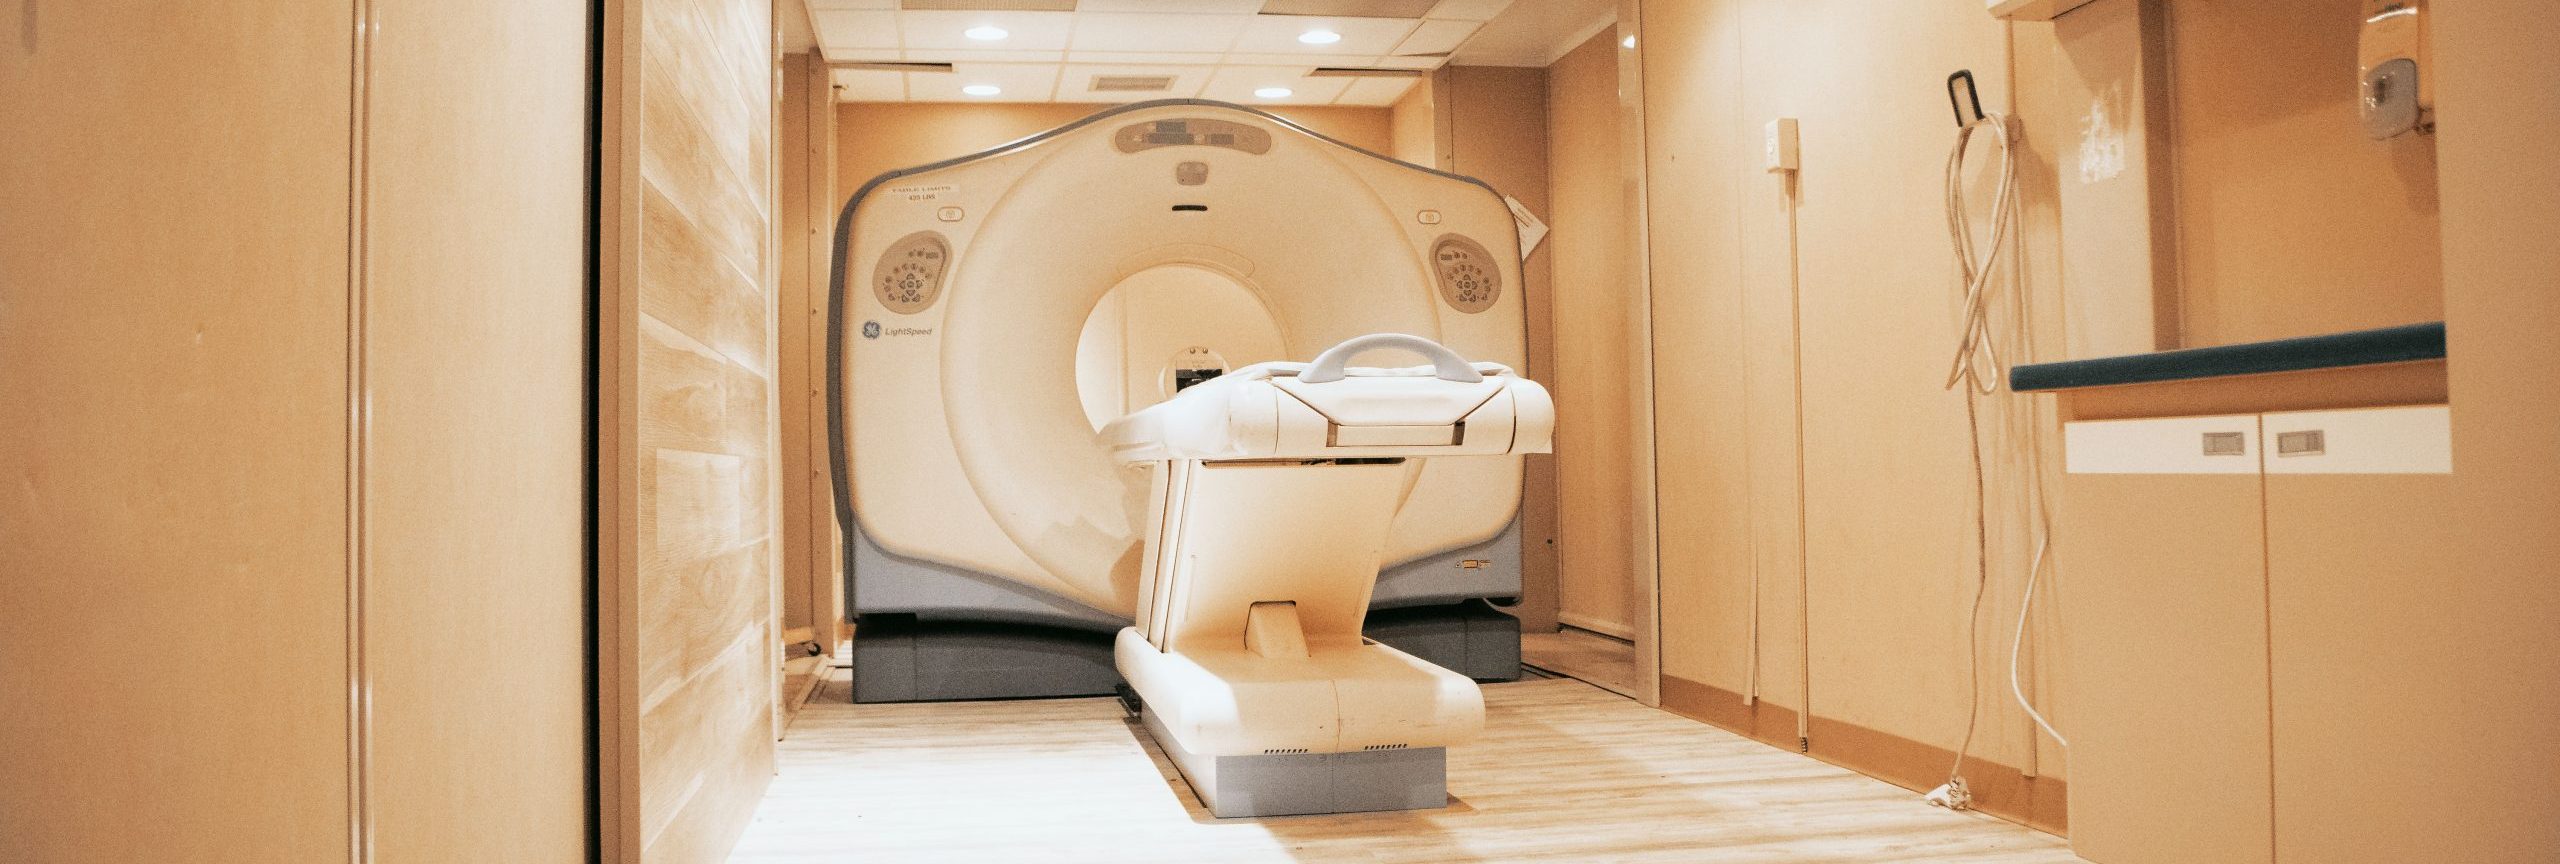
Whether you’re planning to set up a small clinic or handling the preparations for a new hospital wing, you’ll need to know how to prepare for a new or used MRI machine. Anything from 0.3T to bulky 3T MRI machines can give you plenty of trouble if you don’t familiarize yourself with potential installation issues.
How to avoid potential installation issues with your MRI
Just like handling home appliances, you need to oversee every aspect of the installation. Besides the cost of buying it from your supplier, you should also plan its location, proximity with other devices, and proper scheduling. Being careful about these steps will ensure a smooth installation of your MRI.
If you want to avoid potential installation disasters, here are three tips you should follow:
1. Start the installation with the right specialists
A common mistake for first-time buyers is to make the wrong preparations with a complex imaging project. MRI installations need the coordination of different specialists to know how it will fit within the healthcare facility.
For example, there’s a general rule to place a minimum of 27 feet separation between the isocenter of the MRI’s magnet to any high-voltage transformers, automobiles, and other sources of magnetic interference. This is a technical issue that will affect your entire building’s placement, from your imaging room’s proximity to parking spaces to your different rooms’ layout. Ensure that you hire reliable engineers who are aware of your installation’s multiple prerequisites to avoid expensive renovations in the future.
2. Choose a reliable contractor for the installation
You shouldn’t let just any building contractor or original equipment manufacturer (OEM) handle your installation carelessly. This is why it’s important to rely on past references to check your building partner’s credibility. If you have colleagues who can refer to a company that performs a decent job with imaging center projects, you should consider their suggestion.
It’s wrong to tunnel-vision your options with bid costs, especially when you’re installing healthcare equipment. You may end up paying the same amount you saved and more for renovations or lawsuit complaints if you rely on cheap services. It’s best to hire the same vendor to remove and install the imaging devices if you’re moving to another location. This will prevent any potential mistakes in de-installing your hardware from one site to another.
3. Stay involved with the project
Purchasing an imaging installation isn’t a cheap investment. This is why you should observe the project as much as possible while your contractors are doing their job. You should hire your own engineer to consult and monitor their progress if you don’t have the engineering background to double-check their output. Doing so will create a chain of responsibility to assess any potential issues if they come up.
Conclusion
It’s crucial to have a reliable team to perform the specific tasks you need them to do in any construction project. They must exercise proper foresight and professionalism, whether they’re setting your building’s foundation or rigging your plumbing system. For healthcare facilities, the stakes and precision of your engineers need to be twice as much.
DirectMed Parts & Service is a US-based MRI & CT company that handles a wide range of GE, Siemens, and Philips diagnostic imaging equipment models. If you’re looking for MRI coils, installations, and system upgrades, contact us today!